

Tattoos are personal expressions of individuality and creativity. Making your own tattoo machine is more personal and creative than anything else you can think of. Although they sound similar, tattooing on human skin with a do-it-yourself tattoo machine and no formal education might be quite harmful; practice tattooing on fruit or synthetic skin instead.
They are beneficial for such a project because they are small, easy to find, and relatively cheap.Are you looking to make a tattoo gun out of hair clippers? You’ve come to the right place! In this tutorial, we will walk you through the steps necessary to create your very own tattoo gun using common household items.
This is a great project for anyone who wants to learn more about electronics and circuitry, or for anyone who is looking for an inexpensive way to start doing tattoos. Let’s get started!
The Step-By-Step Guide for Making a Tattoo Gun with Hair Clippers:
1) Preparation
For this project, you will need:
- A pair of hair clippers;
- A motor (we used a small electric motor from an old toy car);
- Some wire;
- A switch (consider using a toggle switch, but you can use any type of switch that you have on hand);
- A piece of wood or cardboard (to mount everything on);
- Some tape or glue (to hold everything in place);
- A needle (for the tattoo gun – try using a sewing needle, but any sharp object will work);
2) Steps
The first step is to take apart the hair clippers. You will need to remove the blade guard, blades, and any other removable parts. Once you have the clippers disassembled, it’s time to start wiring everything up [1].
Take the motor and attach it to the piece of wood or cardboard using tape or glue. Then, take the wires and connect them to the motor as well as the switch. Once everything is connected, you can now test it out by turning on the switch and seeing if the motor runs. If it does, then congratulations – you’ve just made a tattoo gun!
Of course, there’s still one more step before you can start inking up your friends. You’ll need to find a needle that fits snugly into the end of the motor (we used a sewing needle, but any sharp object will work).
How to Make a Tattoo Gun Out of Hair Clippers With a Soldering Iron:
- You will need a few other materials for this project including a soldering iron, enameled copper wire, a switch, a battery holder, and batteries;
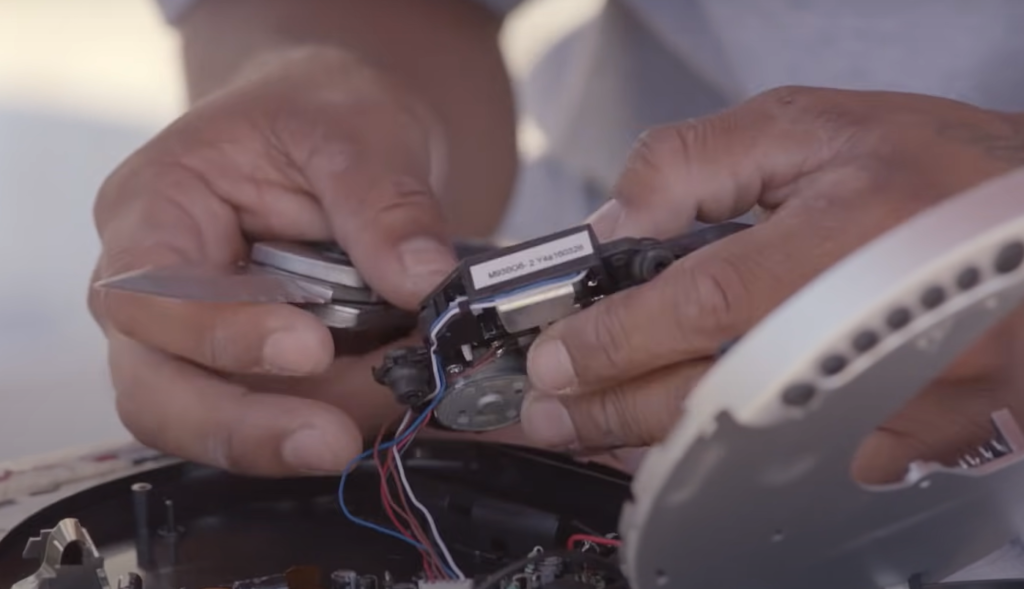
- The first thing you need to do is take the clippers apart. Next, remove the motor from the housing unit;
- Once you have gathered all of the materials, it is time to start wiring the components together. First, strip about ½ inch of insulation off of each end of the enameled copper wire. Then twist one end around the positive terminal on the switch and solder it in place. Do the same for the negative terminal on the switch with the other end of the wire;
- Now it is time to connect the battery holder. Take the end of the wire that is connected to the positive side of the switch and twist it around one of the terminals on the battery holder. Solder this in place and then do the same for the negative terminal;
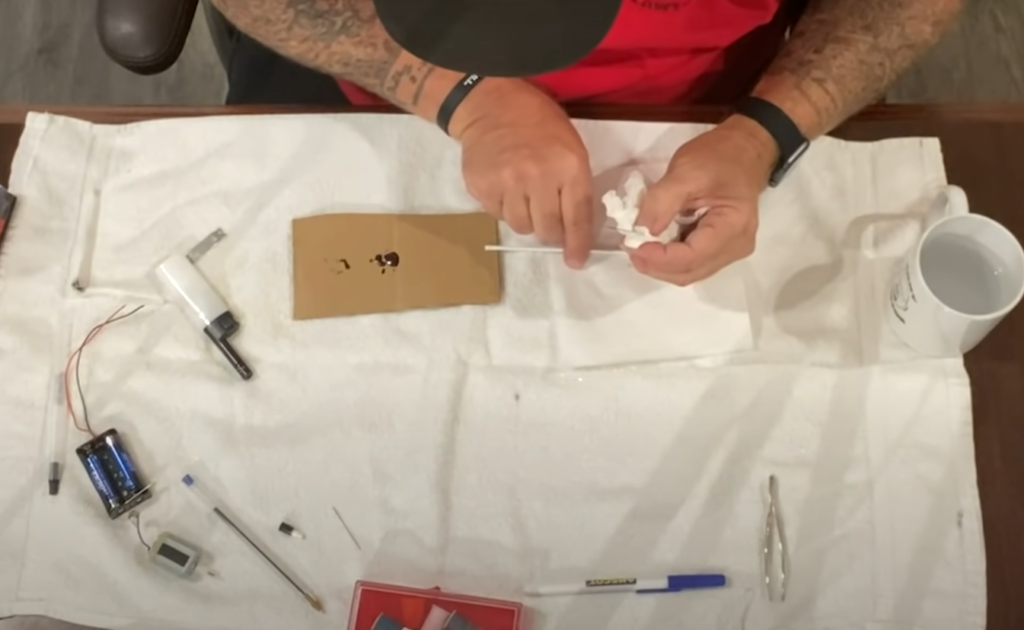
- The last step is to tape or glue everything in place. Once everything is secure, you can test your new tattoo machine by holding it against your skin (or a piece of fruit). Press down on the switch and watch as your design comes to life;
The Guide for Making a Tattoo Gun with Hair Clippers Quickly
You will need:
- Hair clippers;
- A sharpie;
- A drill;
- A needle;
- Some wire;
- Superglue;
- Tape;
Instructions:
- Start by taking the hair clippers apart. You will need to remove the blade and set it aside;
- Next, take the sharpie and mark where you will need to drill a hole. Drill a hole at the marked spot and then thread the needle through it;
- Secure the needle in place with superglue;
- Wrap some wire around the base of the needle and then tape it down;
- Reassemble the hair clippers. Your tattoo gun is now ready to use;
So there you have it – a simple guide on how to make a tattoo gun out of hair clippers. Hopefully, you found this helpful and that you now have everything you need to start inking up your friends!
FAQ
How can I make a homemade tattoo gun?
- The first thing you need is a power supply. You can use a battery pack, but it’s not recommended because they can be unstable. A better option would be to get a foot pedal power supply from a tattoo shop. They’re not too expensive, and they’ll make things easier for you [2];
- Next, you need something to hold the needles. The best option is to get a tattoo grip from a shop, but you can also use an old toothbrush handle or something similar. Just make sure it’s clean and sterilized before you start using it;
- Now, you need the needles themselves. You can buy these pre-sterilized from most tattoo shops, or you can sterilize them yourself at home. If you’re doing it yourself, make sure you boil them for at least five minutes;
- Once you have all of your supplies, it’s time to start putting everything together. Start by attaching the needles to the grip, making sure they’re tight and secure. Then, attach the power supply to the grip and turn it on. You should now have a working tattoo gun;
What kind of needle do you use to make a homemade tattoo gun?
The most popular size for stick and poke tattoos is #12 with a diameter of 0.35mm. You may also wish to try using smaller needles, such as #6 and #8, which have more control.
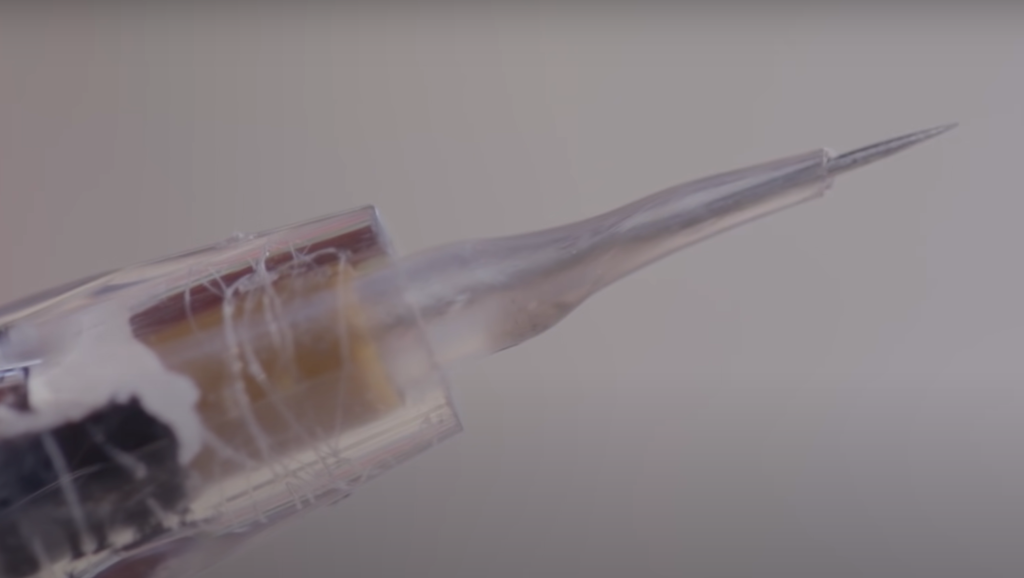
The lesser the diameter, the less ink flow there is. That said, smaller needles like #6 and 8 provide greater control [3].
How do you make a tattoo gun with an electric toothbrush?
You’ll need:
- An electric toothbrush;
- A sharpie or other permanent marker;
- Some sort of tubing (this will be used as the needle);
- Tape;
Instructions:
- First, take your electric toothbrush and remove the head;
- Next, use your sharpie or another permanent marker to mark where you will make your incisions for the tubing;
- Once you have made your incisions, insert the tubing into the holes and secure it with tape. Your tattoo gun is now complete;
- To use it, simply turn on the electric toothbrush and hold it against your skin. The vibrations will cause the needles to penetrate your skin and create a tattoo. Be sure to sterilize both the needles and your skin before use;
Can you use pen ink for tattoos?
If you’re in a pinch and absolutely need a tattoo, you can try using pen ink. However, tattoo experts don’t recommend this method as it’s very dangerous. Pen ink is not sterile and can cause infections. Additionally, the ink isn’t made to enter the skin so it will likely fade quickly. If you do decide to use pen ink, make sure to sterilize the area beforehand and use a new needle [4].
What can I use instead of a needle for stick and poke?
You can use any type of sewing needle, although a tattoo needle works the best. The majority of tattoo artists discourage the usage of a hollow piercing needle or a safety pin [5].
How do you sterilize tattoo needles at home?
Sterilizing tattoo needles is a critical part of the tattooing process. There are a few ways that you can sterilize your needles at home, and each method has its own set of pros and cons [6].
One popular method is to use an autoclave. Autoclaves work by using steam to kill bacteria and viruses. Pros of using an autoclave include that it is quick and effective. Cons of using an autoclave include that they can be expensive, and they require special training to use properly.
Another popular method for sterilizing tattoo needles is using boiling water. Boiling water kills bacteria and viruses by denaturing their proteins. The pros of boiling water include that it is inexpensive and easy to do.
No matter which method you choose, it is important to make sure that your needles are sterile before you start tattooing.
Useful Video: HOW TO MAKE A TATTOO MACHINE FROM HAIR CLIPPERS
References:
- https://ourpastimes.com/make-tattoo-gun-using-clippers-4967773.html
- https://www.vice.com/en/article/zmgz9x/heres-how-to-make-your-own-tattoo-gun
- https://www.bodysjewelryreviews.com/what-kind-of-motor-can-you-use-to-make-a-tattoo-gun-0300ce82/
- https://www.bustle.com/articles/86711-how-to-make-your-stick-and-poke-tattoo-experience-as-safe-as-possible
- https://www.singleneedletattookit.com/blogs/advice-info/stick-and-poke-a-quick-fire-guide
- https://oureverydaylife.com/how-to-sterilize-tattoo-needles-12133643.html