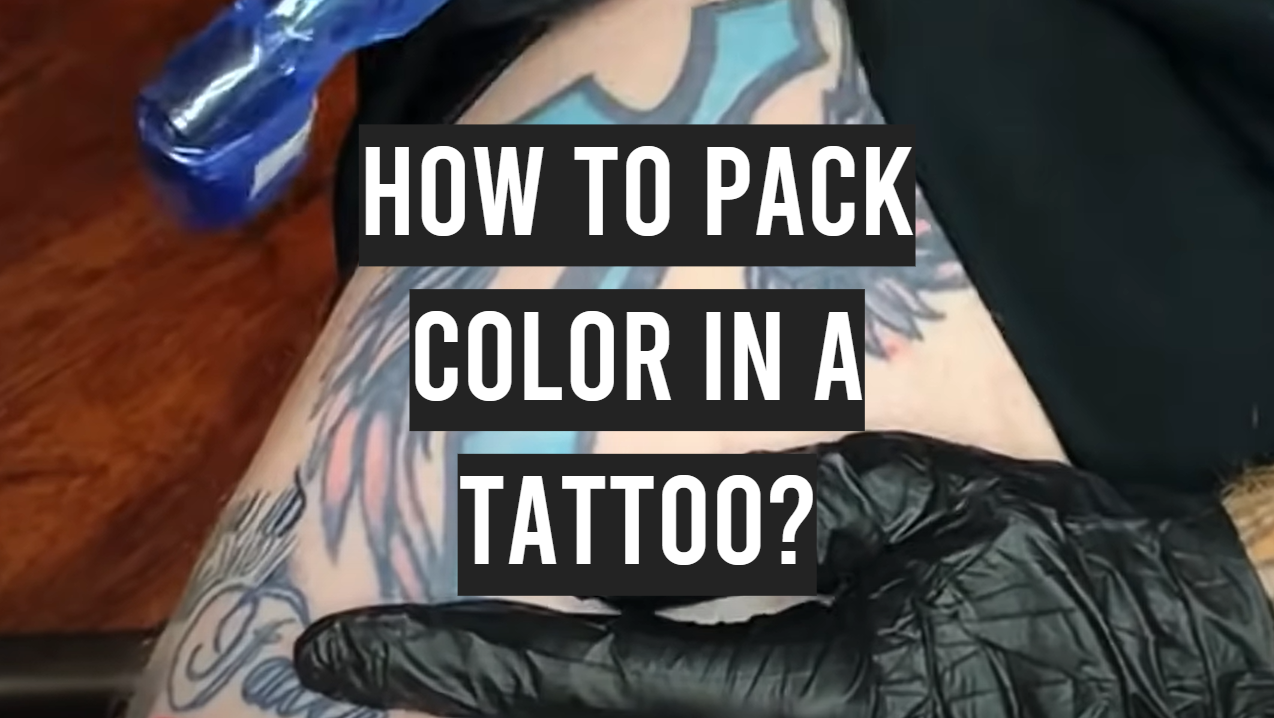
You got your new tattoo and it looks amazing! But what do you do now? How do you make it last? One of the most important things to remember when caring for a new tattoo is how to pack color in properly. This epic guide will teach you everything you need to know about packing color in a tattoo, from choosing the right colors to using the correct techniques. Let’s get started!
What is Color Packing in Tattoos?
Color packing in tattoos is the process of layering colors in a tattoo to create depth and dimension. It can be used to create shadows and highlights, or to add volume to flat designs. When done correctly, color packing can give your tattoo a three-dimensional look that really pops off the skin. The depth, distance, and angle that the needle penetrates the skin all play a role in how much ink is left behind.
Color Packing Techniques
There are a few different techniques that you can use to pack color into your tattoo and each has something special to it.
Small circles
One way to pack color into your tattoo is by using small circles. This technique is best used for creating shadows and highlights. To create a shadow, use a dark color and make small circles around the area you want to be darker. To create a highlight, use a light color and make small circles around the area you want to be lighter.
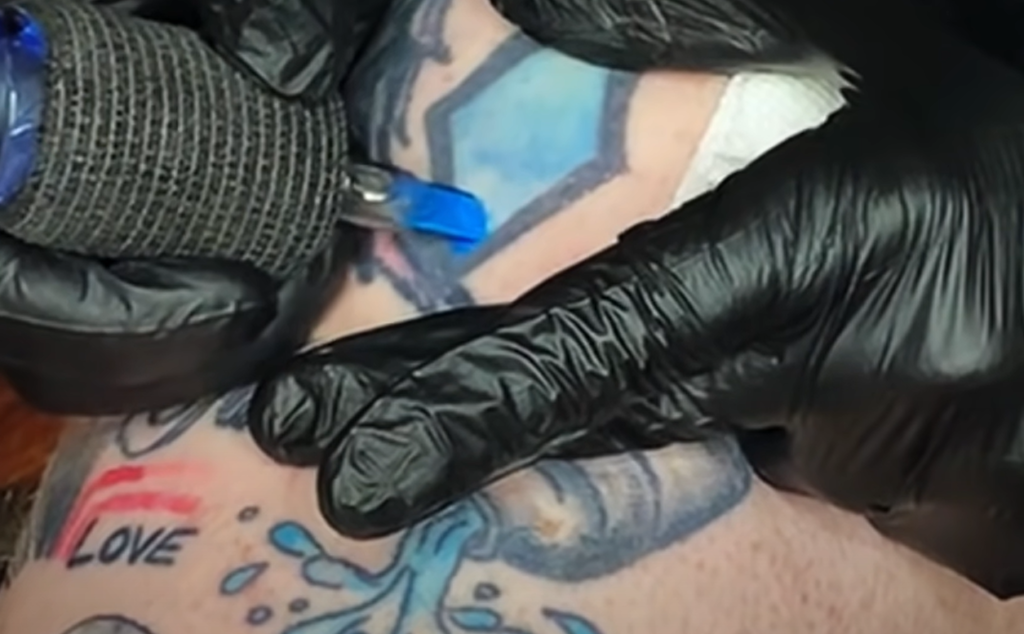
It’s also a great method to fill smaller areas quickly without having to go over the same spot multiple times.
Pushing
Pushing is a color packing technique where the artist will use more pressure when tattooing. This results in a deeper penetration of the needle, which means that more ink is left behind. This technique is often used to create shadows and highlights, as it can really make the colors pop.
To push or not to push is often a matter of preference for both the artist and the client. Some people find that pushing makes their tattoo hurt more, while others find that it gives them a better result. If you’re unsure, ask your artist what they recommend.
Pushing can also be used in conjunction with other color packing techniques to create unique effects.
Pulling
Pulling is a basic color packing technique that involves pulling the machine away from the tube pipette after each layer of color is applied. This helps to control the amount of ink that is deposited on the skin and prevents the colors from bleeding into each other.
This technique is best used for small areas or for packing multiple colors into a single area. It can be tricky to control, so it’s important to practice on paper before trying it on skin. [1],[2]
General Tips to Consider When Color Packing
When color packing your tattoo, there are a few general tips to keep in mind that will help you achieve the best possible results. Let’s go over them!
Work slowly
Slow and steady wins the race when it comes to color packing. Working too quickly will not give the ink time to properly settle into the skin, which can cause it to spread and bleed. This is especially true for darker inks, which have a tendency to “bleed” more than lighter colors. Work at a comfortable pace and take your time layering the colors. Rushing through the process will only result in a sloppy tattoo that doesn’t have the depth and dimension you’re going for. Work at a comfortable pace, and take your time layering in the colors.
Use needles with thicker sharps
Needles with thicker sharps are better for color packing because they deposit more ink into the skin with each pass. This is important because it means you won’t have to go over the same area multiple times to build up the color, which can cause the ink to spread and look blotchy. It’s also less likely that you’ll accidentally puncture a blood vessel, which can cause your tattoo to bleed.
Move in consistent strokes
When tattooing, it’s important to move the needle in tight, consistent strokes. This is especially true when color packing. Moving the needle in wide, sweeping motions can cause the ink to spread out and look blotchy. Instead, focus on making small, consistent passes with the machine. This will help the colors stay nice and tight, resulting in a cleaner overall appearance. Avoid pressing on the skin too hard, as this can also cause the ink to spread.
Don’t overdo with black tones
While black is great for adding depth and creating shadows, too much of it will make your tattoo look flat. Use black sparingly, and focus on using other colors to create depth and dimension. This will give your tattoo a more three-dimensional look.
Ink quality
Make sure your ink is nice and thin – not too watery, but not too thick either. This will help to prevent blowouts and ensure that each layer of color is nice and crisp. [1],[2],[3],[4]
How to Pack Color in a Tattoo
Now that you know what color packing is, let’s talk about how to do it.
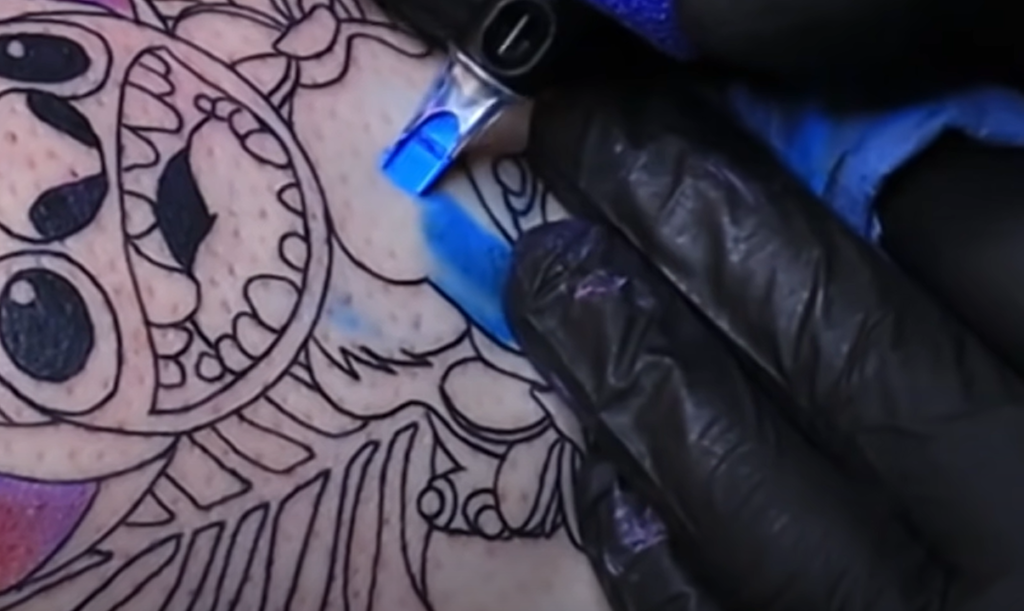
As with any tattoo, the first step is to come up with a design that you love and that will look good in the desired location on your body. Once you have your design ready, it’s time to start thinking about colors.
Choose colors
When picking colors for your tattoo, it’s important to consider both the light and dark value of each hue. The lightest colors will be used to create highlights and the darkest shades will be used for shadows. In between these extremes, there are a variety of medium values that can be used to add depth and dimension to your tattoo.
If colors you prefer are too light or too dark, your tattoo artist may be able to mix them to create a custom shade that’s just right. You can mix colors both in cap, before starting the tattooing process or on the skin, during the tattoo session.
Pick the correct mag
One of the most important steps in color packing is to choose the right mags, or tattoo needles. Mags are available in a variety of sizes, from 0.25mm to 0.40mm. The size you need will depend on the type of color packing you’re doing, as well as the design of your tattoo. If you’re unsure which size to use, ask your colleague artist for advice.
Color layering
Color layering is a tattoo packing technique in which colors are applied one over the other to create depth and dimension. This is done by starting with the lightest color and working your way to the darkest. The lighter colors will create highlights and shadows, while the darker colors will add depth and volume.
To achieve this effect, you will need to use different saturation levels and needle sizes for each layer. For example, you would use a higher saturation level and a smaller needle size for the first layer of color. As you move to the next layer, you would use a lower saturation level and a larger needle size. This will help to create depth and dimension in your tattoo.
Sometimes, when packing colors you’d want to blend the colors near the edges to the skin tone.
Move in small circular motions as you work your way around the tattoo. This will help to blend the colors together and create a more natural look. As you apply each layer of color, be sure to allow the ink to dry completely before moving on to the next color. This will prevent the colors from running or smudging.
Utilize crosshatching
Cross hatching is a technique where the needle is moved across the skin in a criss-cross pattern. This technique can be used to create shadows and depth. Crosshatching can also fill the gaps between colors and help blend them together. It’s done by making a series of overlapping lines in different directions. The density of the crosshatching will determine how consistent the color is across the tattoo.
Shading
Once all of the colors have been applied, you can start working on shading and blending. While having a solid understanding of color theory is important, it’s also necessary to know how to shade. Shading is the process of adding shadows to your tattoo. This can be done by cross hatching, or by using a variety of needle sizes and saturation levels.
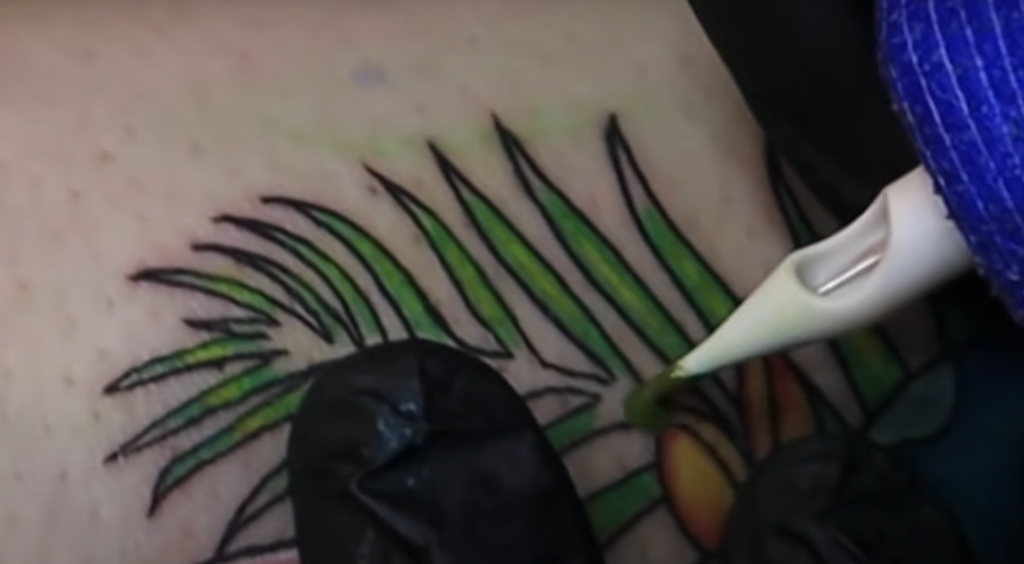
Shading is an important part of color packing because it helps to create depth and dimension. Without shading, your tattoo will appear flat and two-dimensional. Shading can make or break a tattoo, so it’s important to take the time to learn how to do it properly.
Whip shading
One of the most used shading techniques is whip shading. This type of shading is mainly used to create soft shadows. Whip shading is done by barely touching the skin with the tattoo needle as it is moved in a rounded, whipping motion. This technique can be used to create various effects such as softening the edges of a tattoo or creating a gradient effect. Whip shading can also be used to add depth and dimension to a tattoo.
Whipping shading requires a lot of skill and practice to master this technique, so if you’re not confident in your ability to do this, it’s best to leave it to the professionals.
Trail shading
Trail shading is another great way to add depth and interest to your tattoo. It’s a simple technique that involves adding darker shades of color in linear motions. This creates the illusion of shadows and depth, making your tattoo appear more three-dimensional.
To achieve this effect, your artist will use a darker shade of ink to fill in the outlines of your tattoo. Then, as you go farther away from the center of the tattoo, the ink will become progressively lighter. This creates a gradation of color that gives your tattoo extra dimensionality.
Scupping
Scupping is another way to add some shading to your tattoo. It is a technique that uses a small zigzag motion to add depth and dimension. The artist moves in small circles while adding pressure to create the desired effect. Needle is never picked up completely off the skin in this method. Scupping will slowly dilute the pigment as it’s being applied, so the color will become lighter and more transparent the further you get from the center.
Use vaseline
Vaseline can be used to create a barrier between the layers of color. This will help to prevent the colors from bleeding into each other and ruining your tattoo. Vaseline can also be used to create highlights. To do this, simply apply vaseline to the area you want to highlight before applying the color.
You also want to apply a layer of vaseline before you start working on the tattoo. This will help to protect your skin from the needle and prevent the ink from seeping into your pores.
Clean and edit your work during the process
It’s impossible to achieve perfection with your first try, so don’t be discouraged if you make a mistake. The important thing is to learn from your mistakes and keep practicing. As you become more experienced, you will be able to produce cleaner and more precise tattoo designs.
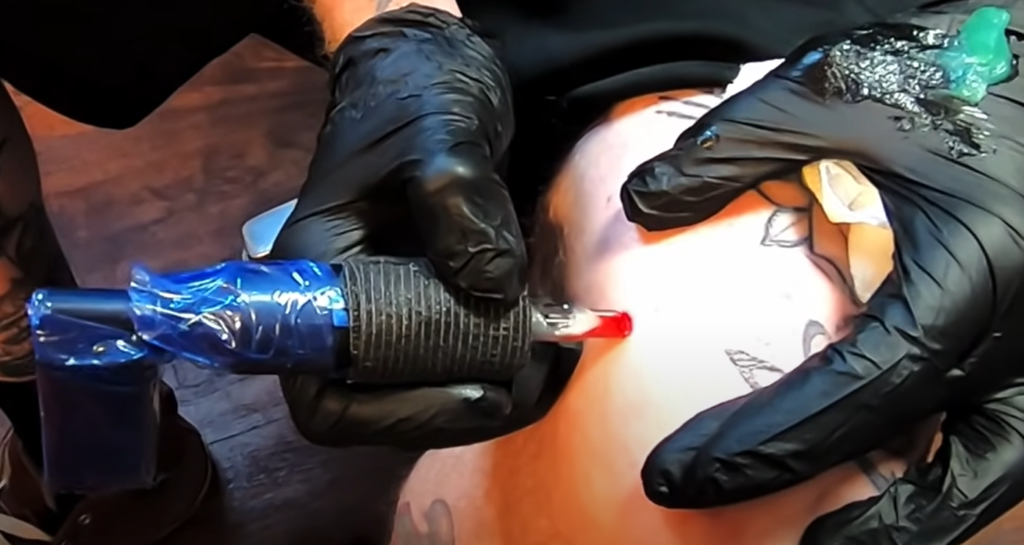
If you’re not happy with the way your tattoo is looking, don’t hesitate to clean it up or make changes as you go. It’s better to fix a mistake while you’re still working on the tattoo than to wait until it’s finished.
These are just some tips on how to pack color in a tattoo. With practice and experience, you’ll be able to create beautiful and vibrant tattoos that will last a lifetime! [1],[2],[3]
FAQ
How do you color a pack tattoo?
There are a few ways to pack color into a tattoo, each with its own benefits and drawbacks. The most common method is to use a shading needle, which can create subtle gradients of color. Another popular method is to use multiple needles of different sizes to inject different amounts of ink into the skin, resulting in a more three-dimensional effect. Finally, some artists will use a single large needle to fill in an entire area with one solid color.
Which method is best ultimately depends on the desired outcome and the skill of the artist. If you’re unsure of what you want or who will be doing your tattoo, it’s always best to consult with a professional beforehand.
What needles are best for packing color?
There are a few different needles that can be used for packing color, but the most common and popular ones are round liners and round shaders. Round liners have a smaller diameter than round shaders, which means they can fit more needle groupings into the same space. This makes them ideal for packing color into small areas or for getting into tight spaces. Round shaders have a larger diameter, which makes them better for covering larger areas or for filling in space.
Some tattooists prefer to use magnum needles for packing color, as they have a larger diameter than both round liners and round shaders. This makes them ideal for filling in large areas quickly. However, magnum needles can be more difficult to control than smaller needles, so they are not always the best choice for detailed work.
What voltage should color packing tattoos be?
There is no definite answer to this question since it will vary depending on the individual’s skin type and pain tolerance.
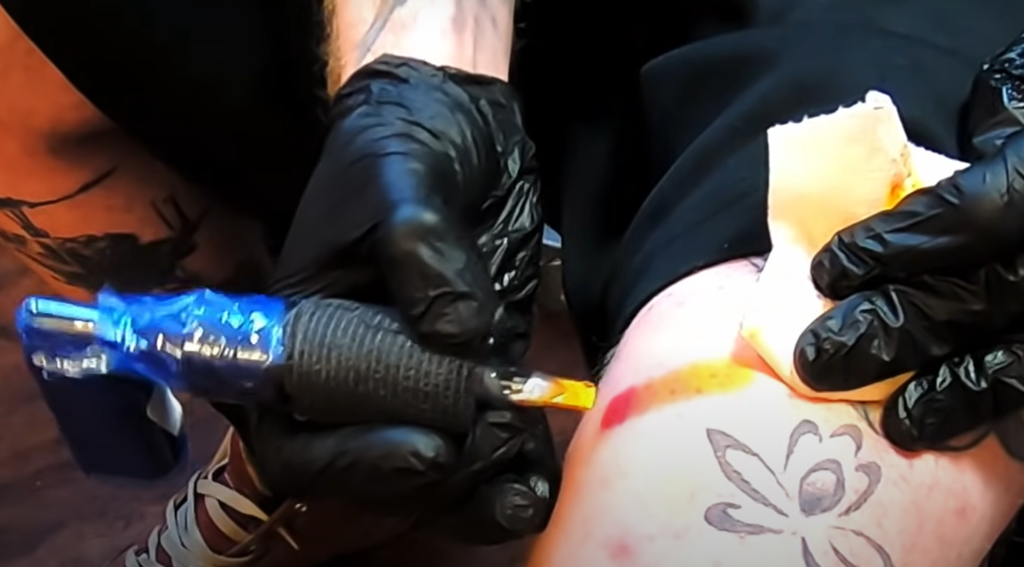
However, as a general rule of thumb, it is generally advised to start at a lower voltage and work your way up until you find the sweet spot that gives you the best results without causing too much discomfort.
How do you saturate color in a tattoo?
One of the most important things to get right when packing color in your tattoo is saturation. Saturation refers to the intensity or purity of the color. The more saturated a color is, the brighter and more vibrant it will appear. One way to saturate your colors is to use high-quality ink. Cheap tattoo inks tend to be less saturated than higher quality inks. Or, you can add a little bit of white ink to your mix. This will help make the colors appear more vibrant and bright. Just be careful not to add too much white or it will throw off the proportion of your colors.
Useful Video: ✅How to PACK COLOR WITH A MAG NEEDLE ❗❗ For Beginners ❗❗
Conclusion
Color packing is a great way to add depth and dimension to your tattoo. In this article, we went over the basics of color packing, some of the most popular techniques, and general tips to keep in mind when color packing your tattoo. Remember, work slowly to achieve the consistent color packed look you desire. And don’t forget about shading- it’s an important part of the color packing process. We hope you found this guide helpful and that it gives you the confidence to try out color packing for yourself! As always, thanks for reading and happy tattooing!
References:
- https://bettertattooing.com/different-techniques-used-in-tattooing/
- https://tattooing101.com/learn/techniques/how-to-pack-color/
- https://authoritytattoo.com/how-to-color-a-tattoo/
- https://www.tattoomagic.info/successful/chapter-seventeen-coloring.html



Leave a Review