

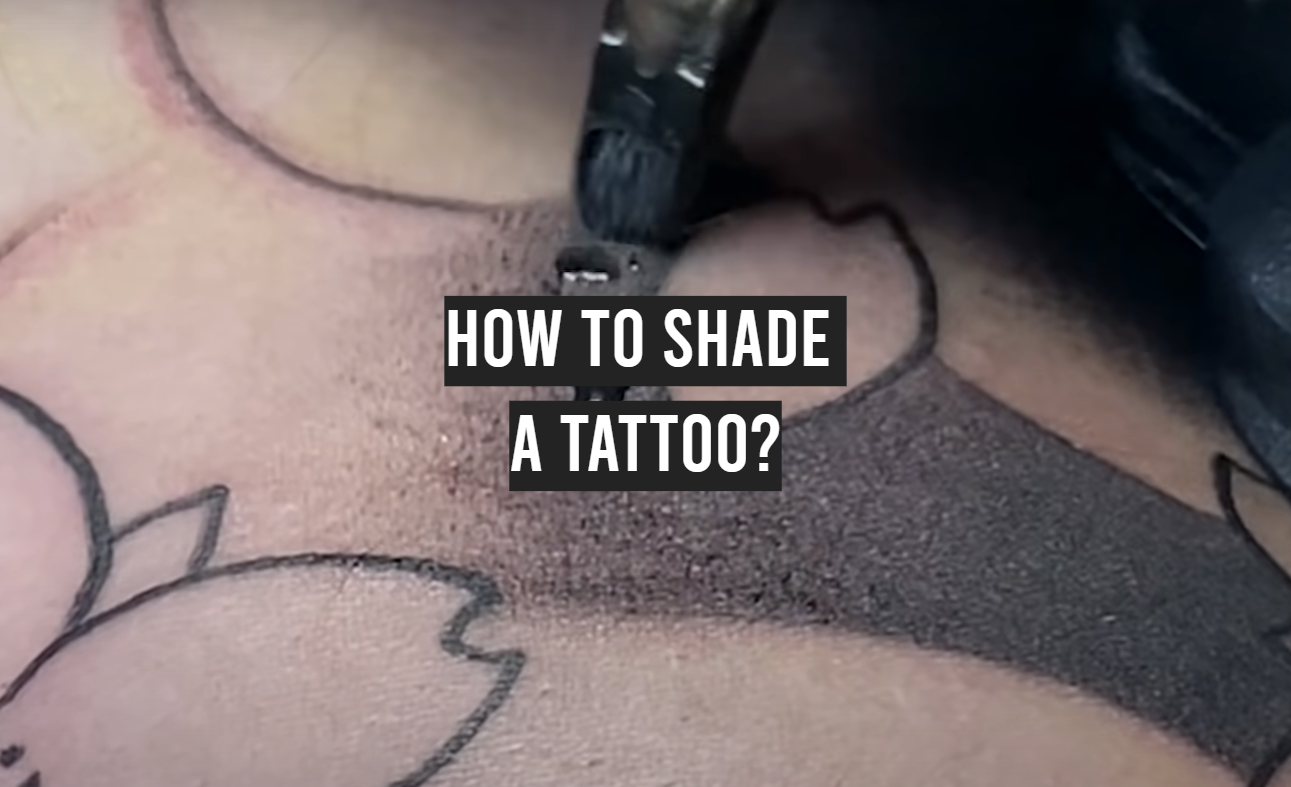
Tattooing has been around for centuries, but the process of shading a tattoo is relatively new. In this article, we’ll cover everything you need to know about shading tattoos and how to perform them like a professional.
When done correctly, shading can make your tattoos look deeper and more realistic. It also adds texture and dimension to your tattoo design, making it really stand out. So let’s take a look at the basics of shading tattoos and how to do it properly.
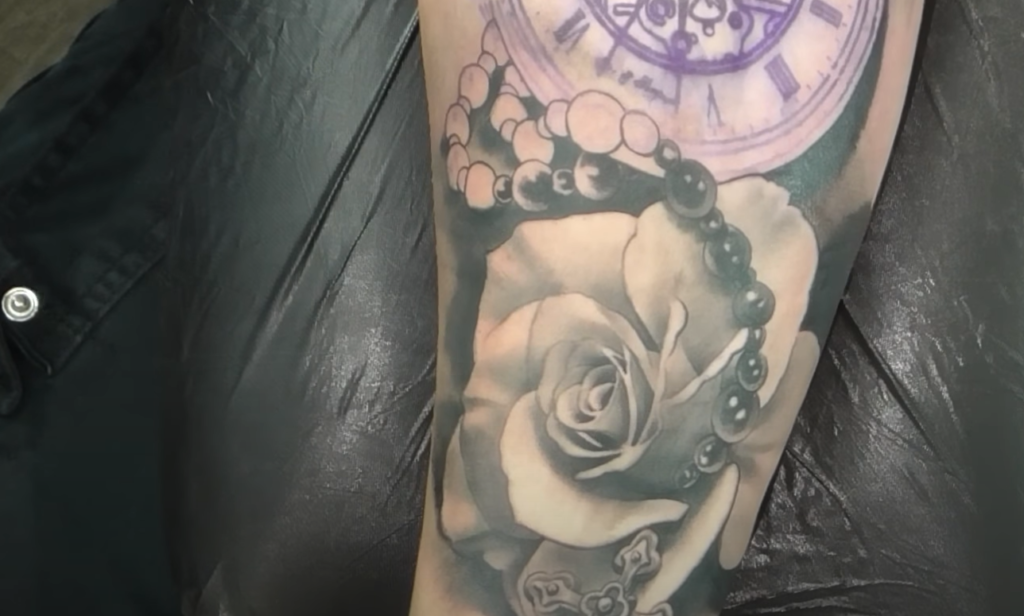
Practice Tattoo Shading
Start Easy, With A Paper And A Pencil
Before you start shading tattoos, it’s important to practice first. Start by drawing a simple outline on a piece of paper and fill in the details with a pencil or ink. This will give you an idea of what to expect when you start tattooing.
When practicing, it’s important to remember that there are no hard and fast rules when it comes to shading. Experiment with different techniques, such as stippling, hatching, and crosshatching to give your drawing depth. Once you feel confident enough, it’s time to move on to the next step – tattooing! [1]
Follow Online Art Classes, Courses, Or Even Video Instructions
If you’re new to tattooing, it’s important to find a good source of instruction. Look for online art classes or courses that focus specifically on shading tattoos. They will usually provide detailed step-by-step instructions and diagrams so you can learn the basics quickly and easily.
You can also check out YouTube videos! Watch experienced tattoo artists as they explain different shading techniques and demonstrate how to apply them. This will give you a better idea of what to expect when doing your own tattoos. [1]
Utilize Practice “Skins And Synthetic Body Parts”
Once you’ve learned the basics, it’s time to start practicing. You can purchase practice “skins and synthetic body parts” online or at your local tattoo supply store. These items come pre-shaded so you can practice shading tattoos without using real skin.
When using practice skins, it’s important to be gentle and use the same pressure that you would use on real skin. You should also practice with a variety of needle sizes as different size needles create different effects when shading tattoos. [1]
Pay Attention To Speed, Needle Type, And Effect You’re Going For
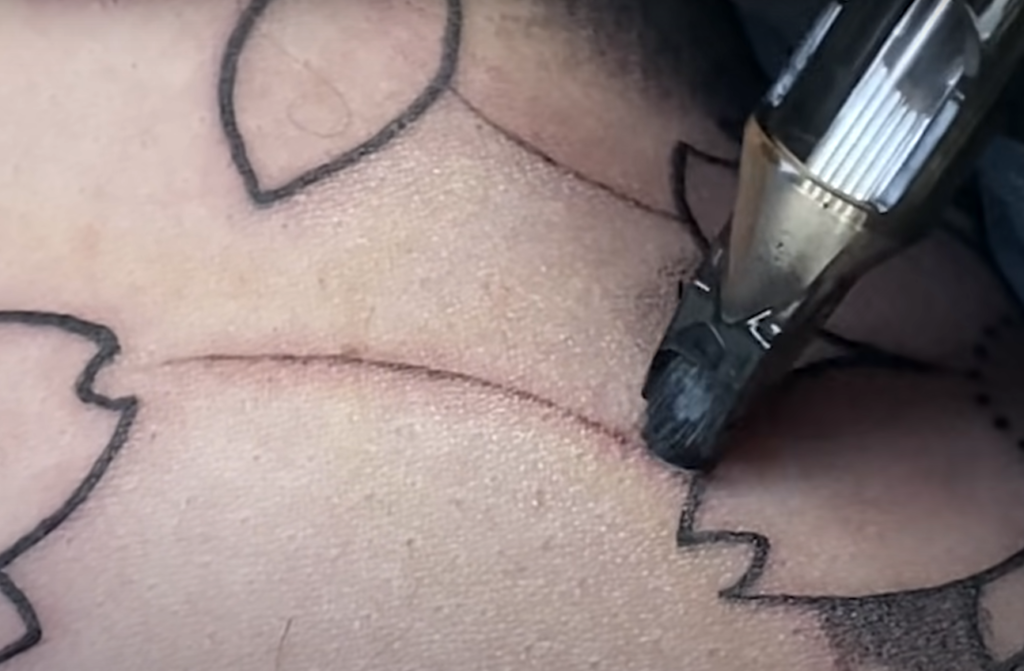
Tattoo Shading Techniques
Brush Shading
Brush shading is a tattooing technique that uses an angled brush to create shadows and depth. The brush is used to slowly drag pigment into the skin, giving it a softer look than traditional tattoo shading. This technique works best when creating realistic depictions of objects, as well as adding highlights or reflections to tattoos. [1]
Whip Shading
Whip shading is another common tattooing technique that uses a single-needle machine to create a whip-like effect. This method involves creating a series of lines that transition smoothly into each other, giving the tattoo an overall blended look. It’s great for adding texture, depth, and volume to tattoos while still maintaining their natural curves and shapes. [1]
Stipple Shading
Stipple shading is a unique tattooing technique that uses a series of dots to create shadows and depth. This method works best when creating images with lots of details, such as landscapes or portraits. The artist will gradually increase the density of the dots in order to create darker areas within the tattoo while leaving lighter areas untouched. [1]
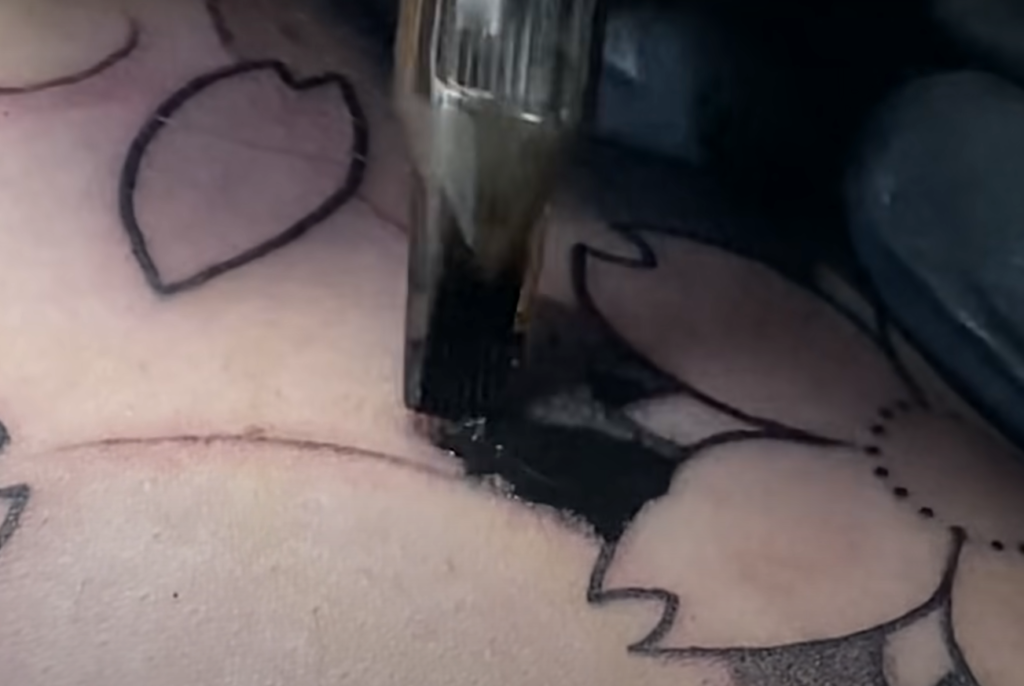
Packing
Packing shading is a technique that involves using several needles to fill an area with pigment. This method is commonly used in tribal or traditional tattoos, as it gives the tattoo a thicker and bolder look. The artist will slowly work their way around the tattoo, gradually increasing the intensity of color until they reach their desired shade. [2]
Pendulum Shading
Pendulum shading is a technique used to create gradients or color transitions within a tattoo. This method involves using the tip of an oscillating machine to slowly drag pigment back and forth, creating gradual changes in tone and texture. This is often used when shading traditional tattoos, as it can give them a softer and more natural look. [3]
Other Things Important For Tattoo Shading
Tattoo Shading Needles
Tattoo shading needles are specifically designed for the purpose of creating a smooth, even layer of ink. They come in different configurations, and it’s important to understand the differences between them so you can choose the right needle for your tattoo.
Liners have needles configured in a straight line and are used to outline tattoos. Magnums have needles configured in a circular pattern and they’re used to create shading and blending effects. [1]
Setting The Tattoo Gun For Shading
Once you’ve got the right needle for your shading, you need to adjust the settings on your tattoo gun. Generally speaking, a higher voltage setting will give you darker and more saturated shading while a lower voltage will give you softer and more subtle shades. Try testing different settings to see what works best for each individual area of your tattoo. [1]
Knowing When To Shade
When shading a tattoo, it’s important to understand when the best time is to add color. Generally speaking, you should wait until your outline has healed and the skin surrounding it has settled before you begin shading. This will ensure that the colors are consistent and even throughout your design. [1]
Knowing The Duration Of Shading
When shading a tattoo, it’s important to understand the duration of each pass. Generally speaking, you should be doing several passes over an area to create even and consistent shades. If you go too quickly, your colors may look patchy or uneven. Also, keep in mind that different parts of the tattoo will take different amounts of time to complete, so be patient and take it one step at a time. [1]
Creating A Sketch
Before you begin shading, it’s important to create a sketch of the tattoo. This will give you a better idea of how the colors should look and how they should blend together. You can use pencils or markers for this step, but make sure that the lines are light so that you can easily go over them with the tattoo gun. [3]
Prepare The Tattooing Machine For The Shading
Before you begin shading, it’s important to prepare the machine. Make sure that the needle is working properly and that you have enough ink for the entire tattoo. Also, be sure to use a new needle for each individual pass so that the colors don’t get mixed up or become too saturated. [3]
Prepare The Client’s Skin
Before you begin shading, it’s important to prepare the client’s skin. Make sure that the area is clean, dry, and free of any lotions or oils that could interfere with the tattooing process. Also, be sure to use a new needle for each individual pass so that the colors don’t get mixed up or become too saturated. [3]
Understanding The Right Angle For Shading
When shading a tattoo, it’s important to understand the right angle for each stroke. Generally speaking, you should be working from left to right and from top to bottom in order to create even shades. Also, make sure that you’re not pressing too hard on the skin as this can cause the colors to become patchy or uneven. [3]
Tattoo Shading Process Tips
Shading your tattoo is a critical step in the overall process. It can range from light shadows to dark blacks, and it’s important to know how to do this properly.
Here are some tips to help you shade your tattoo perfectly:
- Use multiple needles with different sizes for shading: Different needles will give you different effects. A smaller needle will give you a more subtle effect, while a larger needle will provide strong coverage;
- Use an even pressure: Pressing too hard may cause the ink to spread unevenly and create blotches or smudges. On the other hand, pressing too lightly won’t result in enough color saturation or definition. It’s important to use even pressure and to practice on a piece of paper before you start;
- Know the direction: When shading, you’ll want to be aware of which way the needles are going in relation to the skin. This will ensure that your lines are uniform and create a consistent effect;
- Start light: If you’re not sure what effect you want, start with a light color and slowly build up to a darker shade. This will help you create the desired look without making it too dark;
- Take breaks: Shading can be a tedious process, so make sure to take breaks in between sessions. Taking breaks will allow your skin to rest and also prevent the needle from becoming too hot [2];
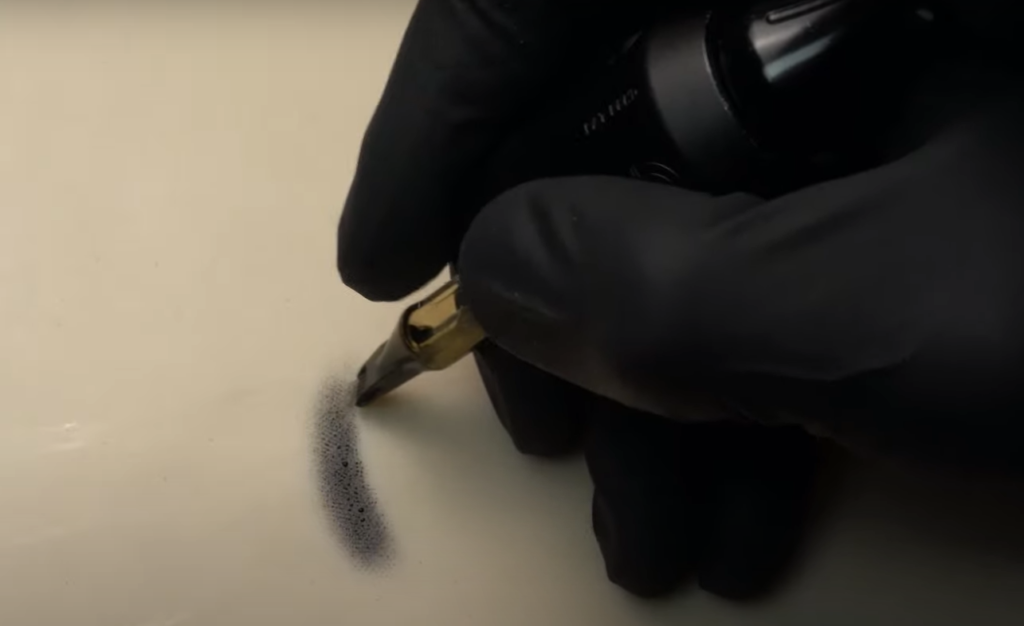
Making Your Own Gray Wash
Mixing your own gray wash is a great way to quickly and easily shade tattoos. It’s also important to have the right consistency so that the ink doesn’t run when you’re working. Here are some tips for making your own gray wash:
- Start by mixing black and white inks together until you get a light, even consistency;
- Add more white to the mix until you create a medium gray that won’t be too dark or too light;
- To achieve a darker shade, add a small amount of black ink at a time until you get the desired tone;
- Make sure you stir well with each addition so that the color is completely even;
- Test the wash on a piece of paper before you start shading your tattoo to make sure it’s not too dark or light for the area [3];

FAQ
How do you shade color in a tattoo?
Shading a tattoo is an important part of the process. It involves using varying levels of ink so that your design ends up looking as realistic and finished as possible. To properly shade a tattoo, start by using a lighter color to fill in the most shallow areas of your design. Then use a darker color to fill in the deeper sections.
What voltage do you shade a tattoo?
The voltage will typically depend on your specific tattoo machine and what kind of needle configuration you have. Generally, shading a tattoo requires a lower voltage than outlining it. To be safe, it’s best to start at the lowest voltage setting that your machine allows and adjust as necessary until you reach the desired result.
What tattoo needle is best for shading?
How do you smooth shade a tattoo?
Smoothing a tattoo is an important step to ensure that your design looks as even and professional as possible. The best way to achieve this is by using short, gentle strokes. Try to keep the pressure consistent and use the least amount of ink necessary for the desired effect. Once you’re finished, you can carefully go back over any uneven spots with a cosmetic sponge to ensure that everything is blended nicely.
What are the four basic shading techniques?
The four basic shading techniques are hatching, cross-hatching, stippling, and scumbling. Each technique requires a different approach to achieve the desired result. Hatching involves creating multiple parallel lines in one direction with consistent spacing between them. Cross-hatching builds on this by adding additional layers of parallel lines that intersect each other. Stippling requires tapping the surface with a needle to create dots, while scumbling uses random strokes of the needle to blend colors together.
What’s more painful shading or outline?
Shading tends to be more painful than outlining since it involves using a lot of small, precise strokes. However, the amount of pain that you experience largely depends on your individual tolerance and the type of needle used. If you’re worried about discomfort, talk to your artist about numbing products or other techniques that can help reduce the sensation.
What is the most painful style of tattoo?
The most painful style of tattoo is usually going to be a blackwork or tribal design. These tattoos involve creating thick lines and dark shading, which can lead to a lot of discomfort for the wearer. If you’re looking for a less painful option, opt for smaller designs with lighter colors instead. This will help minimize the amount of pain that you experience during the tattooing process.
What tattoo spot hurts the most?
The most painful spot to get a tattoo is usually the ribs. This area of your body has thin skin and very few nerve endings, so any kind of needlework or shading can be quite uncomfortable. Other spots such as the feet and hands also tend to be more sensitive than other parts of your body. If you’re planning on getting a tattoo in a sensitive area, make sure to talk to your artist about numbing techniques or other ways of reducing the pain.
How long does it take to shade a tattoo?
Shading a tattoo can take anywhere from an hour to multiple days, depending on the size and complexity of the design. Generally speaking, larger, more intricate tattoos are going to require more time for shading and other details. Talk to your artist about how long it will take before you start the process so that you have an idea of what to expect.
Useful Video: Tattooing Techniques || How to Make Smooth Solid Shading
Conclusion
When learning how to shade a tattoo, it’s important to keep in mind the importance of practice. By spending time developing your technique and learning from experienced artists, you can ensure that your shading looks professional and increases the longevity of the design. The use of stencils as well as various different needles can also help you produce results that your clients will love. Finally, be sure to stay hygienic and keep your equipment clean at all times to reduce the risk of infection. With practice and dedication, you can become an expert in shading tattoos!
Good luck on your journey to becoming a tattoo artist!
References:
- https://www.savedtattoo.com/how-to-shade-a-tattoo/
- https://ink-match.com/insights/how-to-shade-tattoos/#gref
- https://thosegraces.com/shade-tattoo-for-beginners/