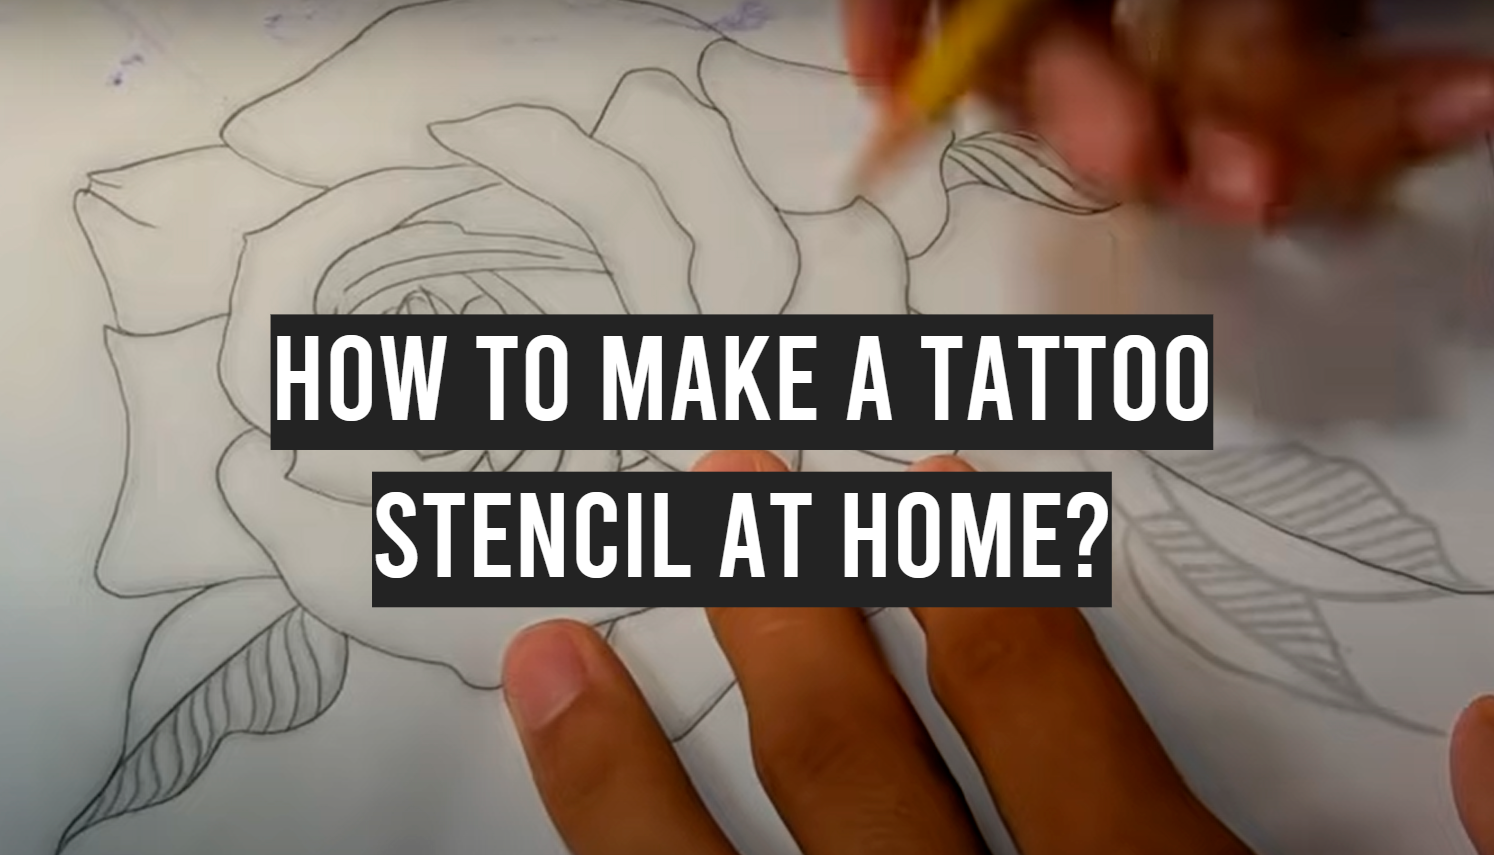
Do you have a tattoo that you love, but don’t love the way it looks? Are you thinking of getting a new tattoo, but don’t want to spend a fortune on a stencil? If so, then this blog post is for you! In today’s post, we will teach you how to make your own tattoo stencil at home using simple materials that you probably already have.
This is a great way to save money, and it also allows you to customize your stencil to fit your specific needs. Let’s get started!
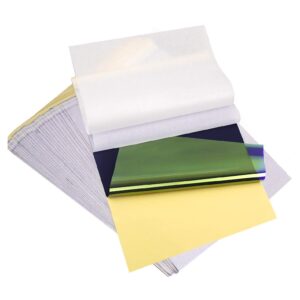
How To Make A Tattoo Stencil:
Materials You’ll Require:
1) Transfer or wax paper
You can get this from your local craft store. This is the cheapest option, and it works well for most people. However, if you want a more professional-looking stencil, then consider purchasing transfer paper designed specifically to be used as tattoo stencils.
2) An ink pen with a fine, pointed tip
Use any kind of pen that will show up on the surface of your skin (e.g., Sharpie). Make sure not to use anything too thick though because it might bleed into your design when transferring onto skin later on!
3) Masking tape
Use any kind of tape that will stick to the surface of your skin.
The adhesive on most kinds should work just fine, but if you’re worried about leaving residue behind after removing it, use something like painter’s tape or even scotch tape!
Just make sure not to get anything too thick because this might cause issues when transferring onto skin later on! You can also use a piece from an old tattoo stencil.
4) Razor for shaving
If you’re using transfer paper, you’ll need a way to shave the extra bits off. You can use an ordinary razor blade for this – just be careful not to cut yourself!
5) Container of water
This is optional, but if you want to make sure the design doesn’t smudge or get messed up during the stenciling process, then having some water handy will definitely help.
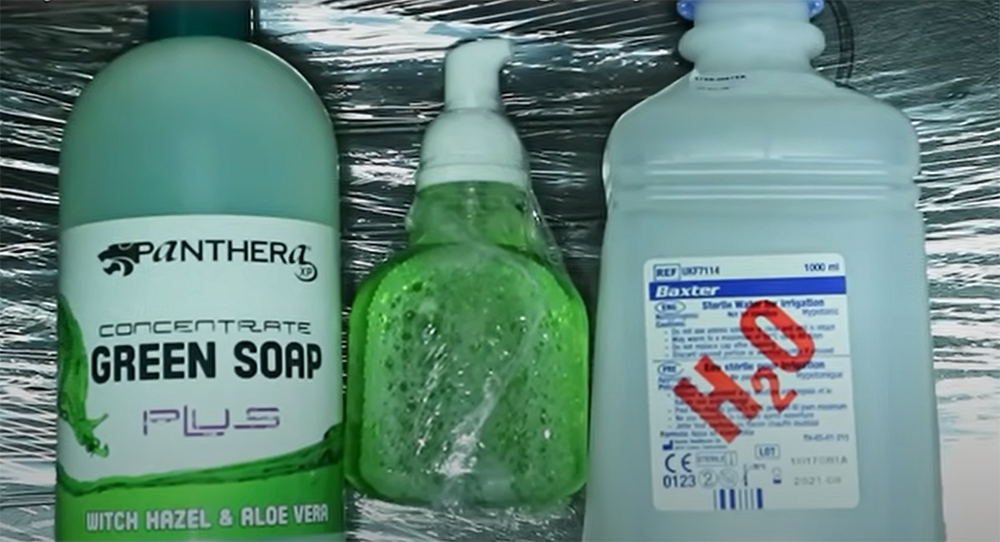
6) Antibacterial soap
Again, this is optional but recommended if you’re working with any open wounds or areas of your skin that are prone to infection.
7) Stencil lotion or glycerin-based stick deodorant
This is necessary in order to prevent the stencil from smudging or getting messed up during application.
You can find this at most tattoo shops, but if not then try using an alternative like petroleum jelly instead!
8) Tattoo ink of your choice (optional)
If you want to fill in any gaps between lines on your design before applying it onto skin later on, then having some extra black pigment handy would be helpful.
Steps to Make a DIY Tattoo Stencil:
1) Sketch and practice your design
You can now begin practicing by drawing your design freehand on ordinary, plain paper until you’re satisfied with it. If you already have a design printed out, move on to the following step; otherwise, start sketching right away because you’ll already have something to trace.
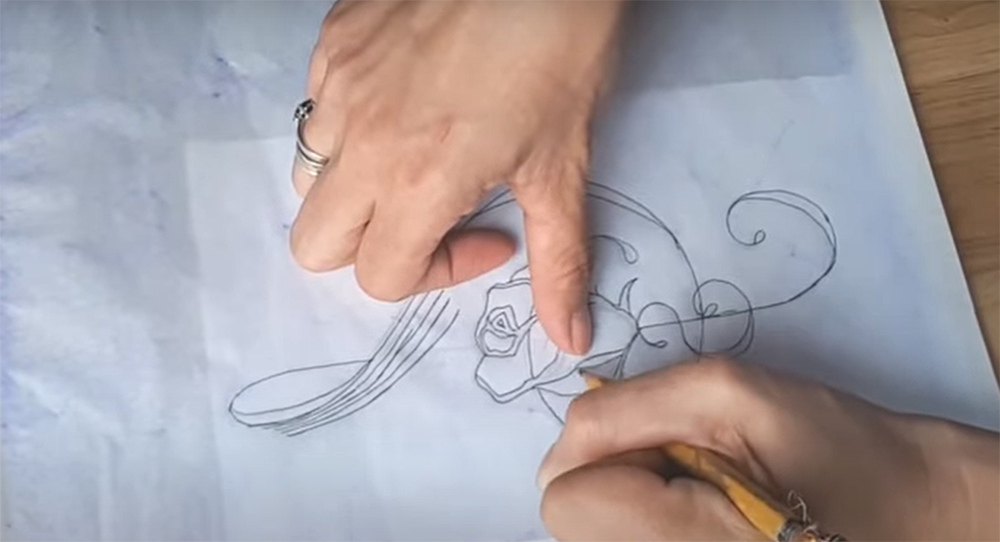
Your freehand sketch or printed design should feature strong outlines that may be seen through the transfer or wax paper in either case.
2) Trace onto transfer or wax paper
After you’ve drawn a design you like or printed one that you have or found on the internet, the next step is to trace it onto the transfer or wax paper. To trace your design, place the transfer paper over your final design print and carefully trace it with an ink pen.
However, while tracing, you should make sure both the design sheet and the transfer paper that has been placed over it are kept steady on a smooth and sturdy work surface. To keep the design and transfer paper from moving, use masking tape to fasten the edges of both papers.
The masking tape should be of good quality so that when removing it, the transfer paper is not harmed.
After you’ve completed tracing, the masking tape may be gently removed. You can trust that the design will not be reversed or turned upside down. It will ultimately be printed on your or your customer’s skin in the correct orientation.
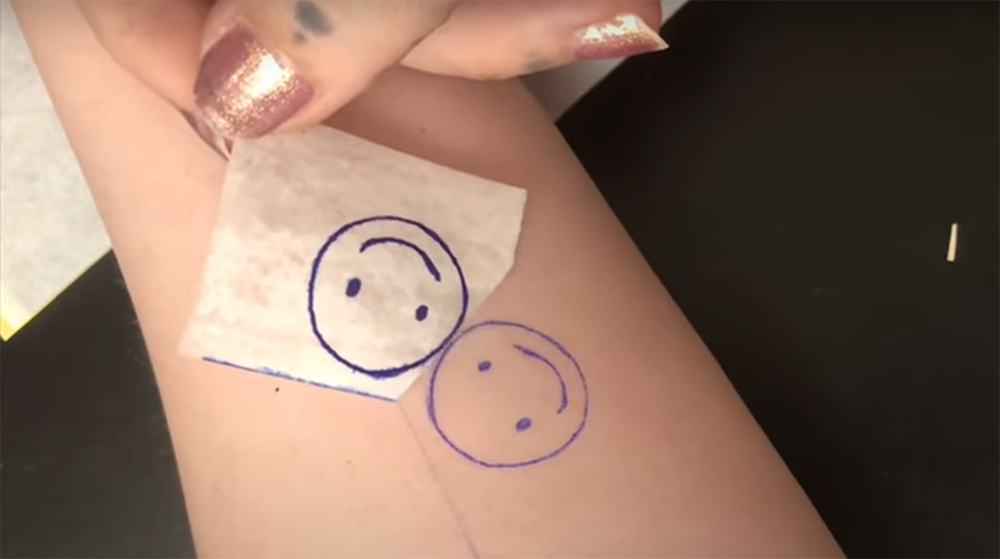
However, if you’re using an overhead projector or a slide projector to project the design onto the skin instead of tracing it by hand as most artists do, then projecting it onto transfer paper is not really necessary.
The use of these machines will eliminate the need for transferring your final design print onto wax paper or transfer paper. Just make sure that all gaps between lines are filled in with black tattoo ink before applying the stencil to the skin surface.
Projecting your design can save you time and produce better results since there would be no need to worry about accidentally smudging any part of the image while doing the transfer by hand.
3) Transfer design to skin
You’ve gone through all of the necessary steps to create a tattoo stencil, and it’s now time to put the design on your skin. The region of the skin must, however, be prepared before applying the design to ensure proper transfer. For both accurate transmission and safety, the place to be inked should be kept clean.
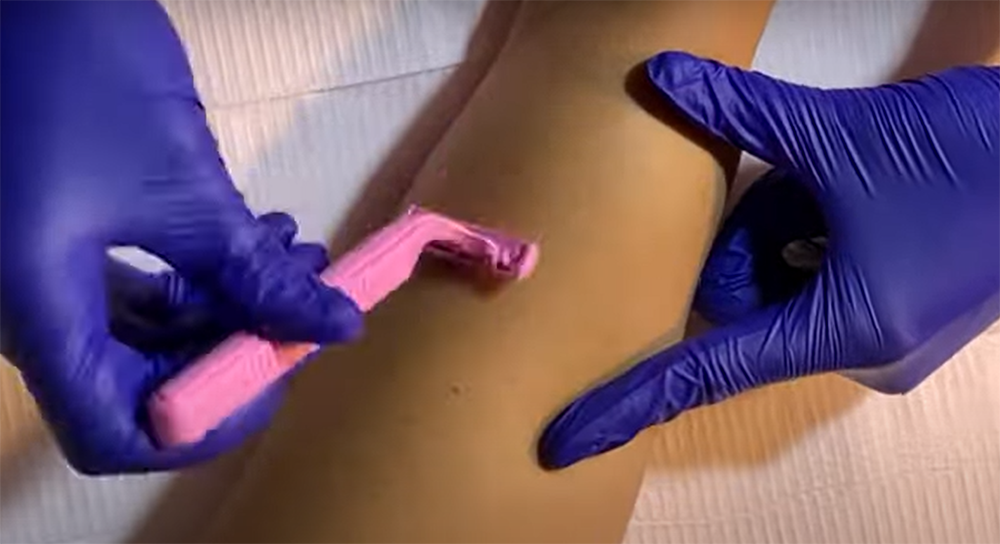
To begin, the region should be shaved carefully with a razor. Following that, a suggested antibacterial soap and mild water should be used to clean the surface on which the stencil will be printed.
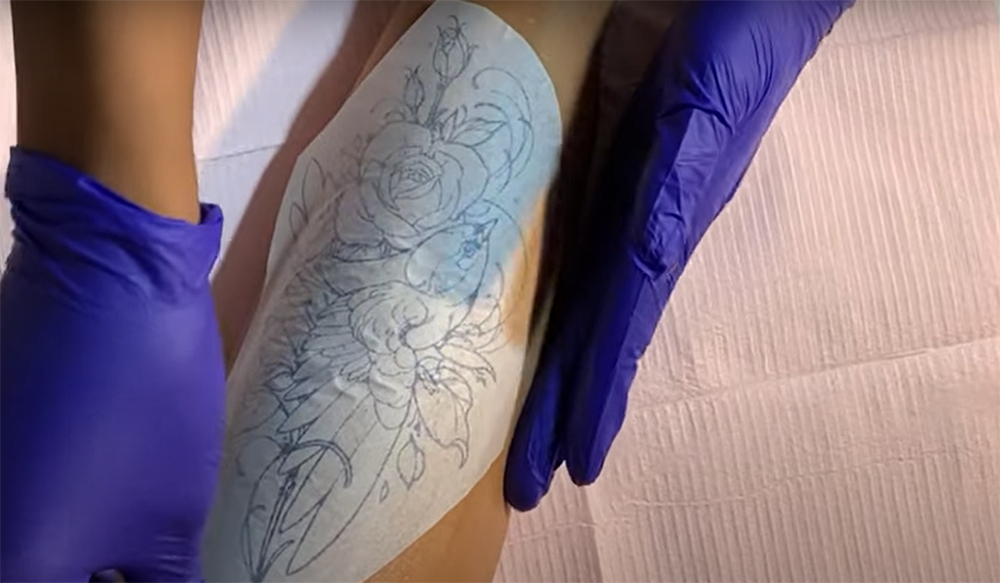
Patting dry the area afterward, when you apply the stencil ink (the tracing) to help ensure that it adheres properly. You may now apply the stencil ink after you’ve completed your skin preparation.
To apply the stencil ink, ensure that the liquid side is facing the skin. Then, using small pats, carefully pat all areas of the stencil onto the skin ensuring no section is missed.
Pat all parts of the stencil with tiny taps and avoid using a rubbing motion since this will smear the stencil ink. For optimum transference, leave the stencil on for 2 to 3 minutes.
After the two to three minutes are up, slowly remove the stencil paper from the skin. The tattoo may now be inked by a professional tattooist using a top-of-the-line tattoo machine after this step [1].
FAQ
1. How do you transfer ink from paper to skin?
While the skin is still moist, apply the ink-soaked tissue paper to it. Gently press down on it with your hand and hold it in place for a few seconds. After removing the tissue, you’ll see that the design has been transferred to your skin [2]!
2. How do you make homemade stencils?
You can make a stencil by sketching your design onto tracing paper or parchment with a pencil. Trace the parts you wish to include in your stencil on another sheet of paper, and then cut out those sections.
To ensure that no details are lost during cutting, use an X-acto knife. Don’t forget about safety when using sharp tools like this one!
3. Can you use normal paper for a tattoo stencil?
The regular printer may be used to generate tattoo stencils. However, you can’t use ordinary paper. Instead, you’ll need thermal paper, carbon transfer paper, or even temporary tattoo paper. The papers may all be utilized with an inkjet or laser printer, so don’t worry about it [3].
4. Can you use a Sharpie for tattoo stencil?
If you’re using a drawn stencil, it’s best to use a fine-tip marker or pen. If the lines are too thick, they’ll be difficult to see through when you transfer your design onto the skin. Sharpies may be used as long as they have small tips and don’t leak!
5. What can I use instead of tattoo transfer paper?
Hectograph transfer paper – this sort of paper is used for freehand drawing by a tattoo artist, either manually or with a dot matrix printer. This is an antiquated stencil-making technique that is still utilized by expert tattoo artists.
The hectograph transfer paper is more cost-effective, but it can rapidly spiral out of control if you’re not a professional or seasoned in freehand tattooing.
Thermal paper – this form of paper utilizes heat to transfer the design from the printer to the paper. Thermal paper is only used by tattoo artists at present to make tattoo stencils. It’s because of this that thermal paper is so popular in the tattoo business since it produces a clean image and can be seen on all skin tones and types.
Because the paper has four distinct layers, it can preserve more information and designs. Thermal paper is widely used in the tattoo business, and every aspiring tattooist should be familiar with it [4].
6. What can I use to stick a tattoo stencil on?
Transfer paper is the most commonly used medium for stencils. When you want to move a tattoo design onto somebody else’s skin, you’ll use transfer paper. The duration of time it lasts on the skin depends on how long it takes before fading begins to occur.
7. How do you make a stencil without a machine?
If you don’t have access to a tattoo machine, you can still make a stencil. You’ll need some carbon paper and an X-acto knife. Trace the design onto the carbon paper with a pencil, then cut out the shape of the design with the X-acto knife. The carbon copy will be transferred to your skin when you hold it against it.
The above methods are all viable ways to create homemade tattoo stencils without relying on machines or other people’s skillsets. Be sure to experiment with different types of transfer papers and techniques until you find what works best for you – after all, there is no one perfect way to do things in this industry!
8. What can I use for a stick and poke stencil?
It’s normal for stick-and-poke tattoos to fade over time. With stick and poke tattoos, the artist must re-draw the lines numerous times before the ink shows through and stays in place. Inexperienced artists may go too deep or not deep enough, causing the tattoo to fade sooner than expected.
Here is what you should do [5]:
- To transfer your design, use brownish paper. Draw your design on the semi-transparent brownish sheet;
- To make the brown paper adhere to the white paper, draw on the top white sheet with the brownish paper that contains the drawn design;
9. How do you make tattoo stencils with baking paper?
If you’re using the baking paper as your stencil material, you’ll need to print out the design onto carbon transfer paper. The process is very similar to printing on thermal paper – just make sure that the printer doesn’t smudge the inkjet!
Once the design has been printed, place it face down on top of a sheet of baking paper. Rub over it firmly with a blunt object like a ballpoint pen or pencil until the image is transferred. Cut out around the edges of the transferred image and you’re good to go!
Baking papers can be bought cheaply from most supermarkets and craft stores, so there’s no excuse not to use them for your stick and poke tattoos.
10. What can I use to draw on skin before a tattoo?
Before the tattooing, tattoo artists frequently use Sharpie markers to create patterns on the skin.
11. Can you use a pen for a tattoo?
You can use a pen to draw on skin before tattooing, but it’s not recommended. The ink from pens is far too thin and will run once applied to the skin. Sharpie markers are preferred by most tattoo artists because they’re bolder and easier to see when drawing intricate designs on someone’s body parts!
12. How to make a tattoo stencil out of tracing paper?
If you want to make a tattoo stencil out of tracing paper, you’ll need to print the design onto carbon transfer paper. The process is very similar to printing on thermal paper – just make sure that the printer doesn’t smudge the inkjet [6]!
Once the design has been printed, place it face down on top of a sheet of tracing paper. Rub over it firmly with a blunt object like a ballpoint pen or pencil until the image is transferred. Cut out around the edges of the transferred image and you’re good to go!
Tracing papers can be bought cheaply from most supermarkets and craft stores, so there’s no excuse not to use them for your stick and poke tattoos.
13. How do I transfer pictures to edible sugar paper?
Buy a printer. For cakes, any inkjet printer can be used to produce edible pictures. If you have an old inkjet printer lying around, clean it and put it to good use. Don’t try to make edible sugar picture transfers with your current printer.
Any inkjet printer will do, however, a specific printer should be dedicated exclusively for this purpose.
Also, desktop combination printers are available that can print out edible images without the need for a computer [7].
Useful Video: How to make a tattoo stencil EASY
References:
- https://tattoolikethepros.com/how-to-make-tattoo-stencil
- https://sarahenna.com/blog/how-to-use-transfer-paper
- https://www.savedtattoo.com/can-you-use-a-regular-printer-for-tattoo-stencils
- https://www.savedtattoo.com/can-you-use-a-regular-printer-for-tattoo-stencils
- https://www.bodysjewelryreviews.com/what-can-i-use-for-a-stick-and-poke-stencil-8bf45781
- https://en.wikipedia.org/wiki/Tracing_paper
- https://www.leaf.tv/articles/how-do-i-transfer-pictures-to-eatable-sugar-paper







Leave a Review